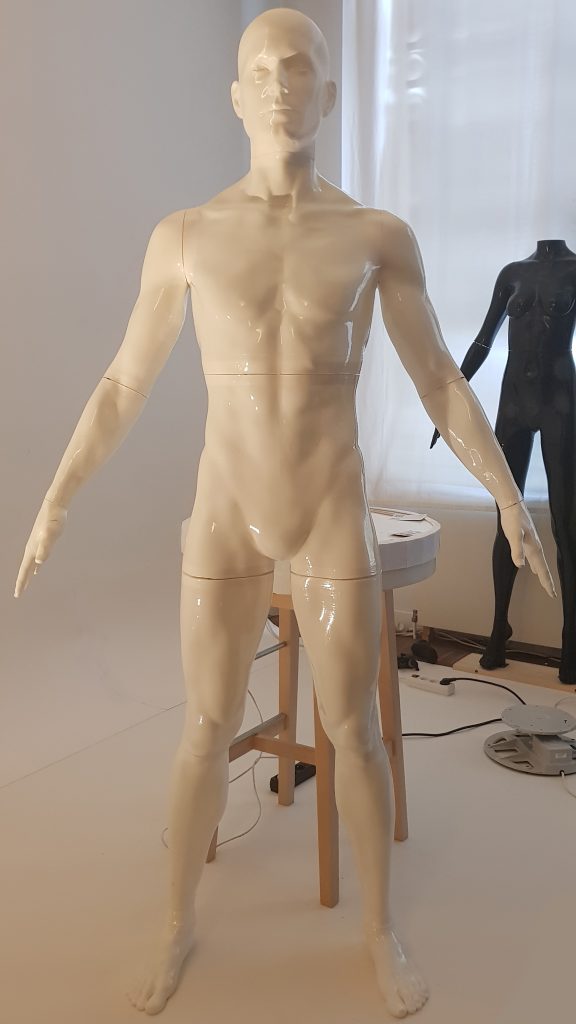
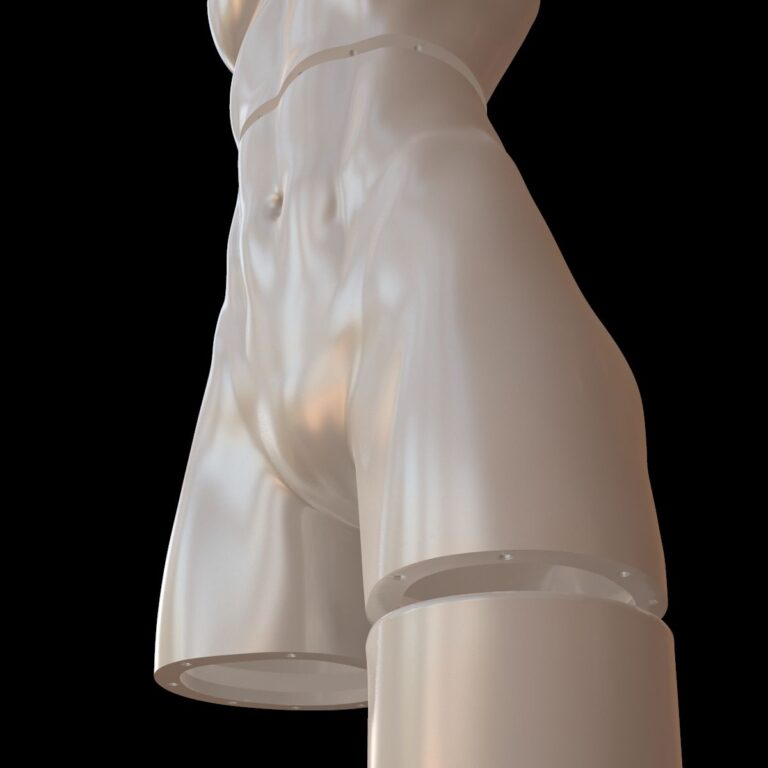
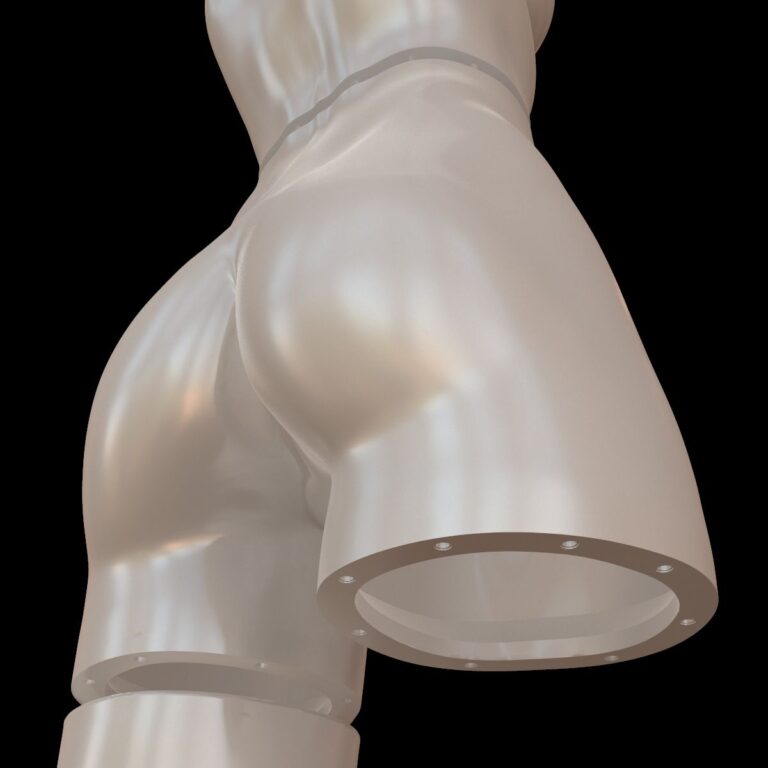
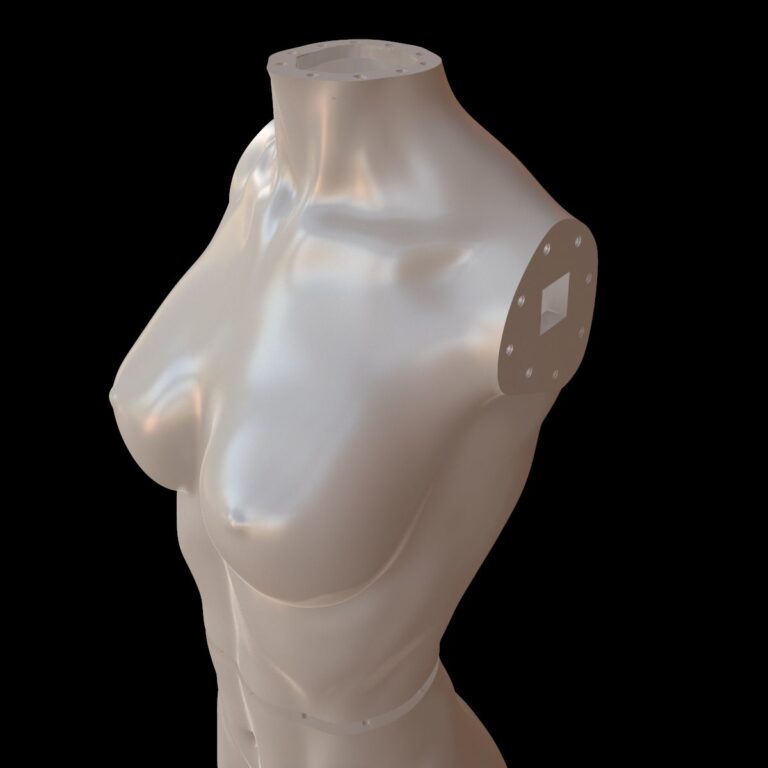
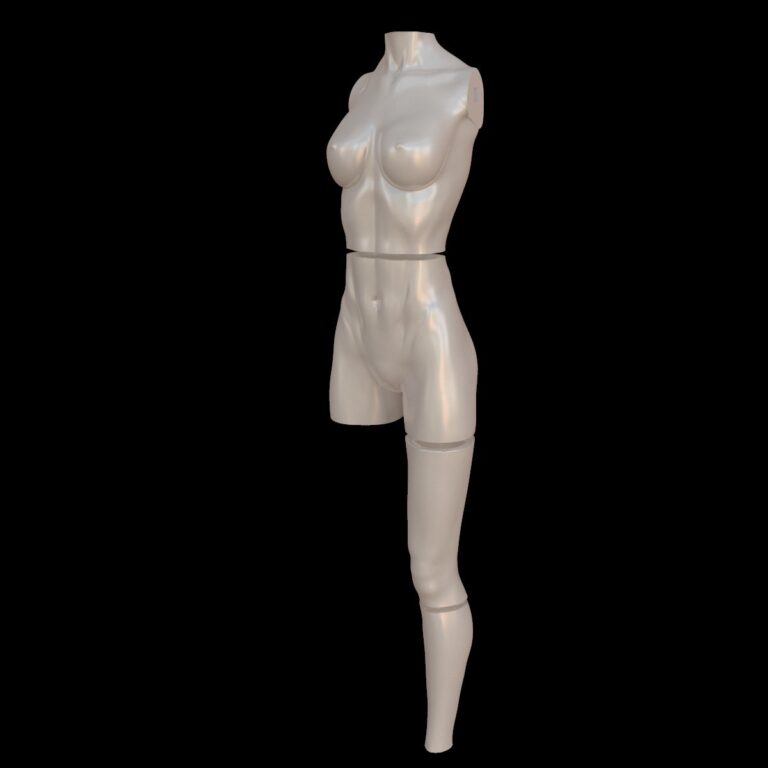
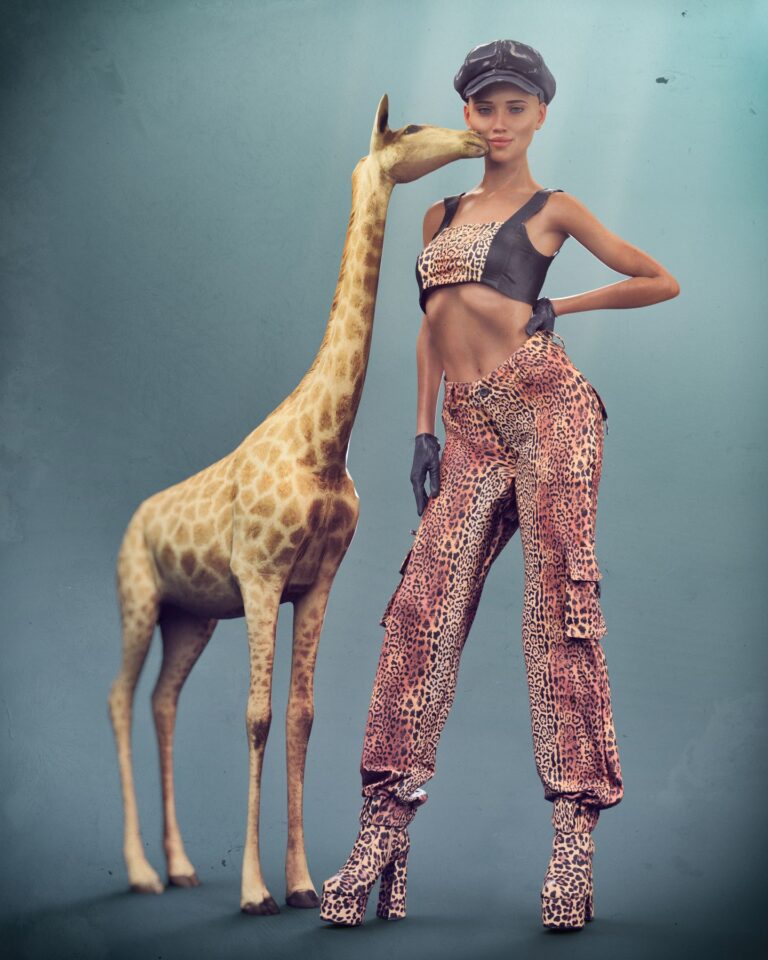
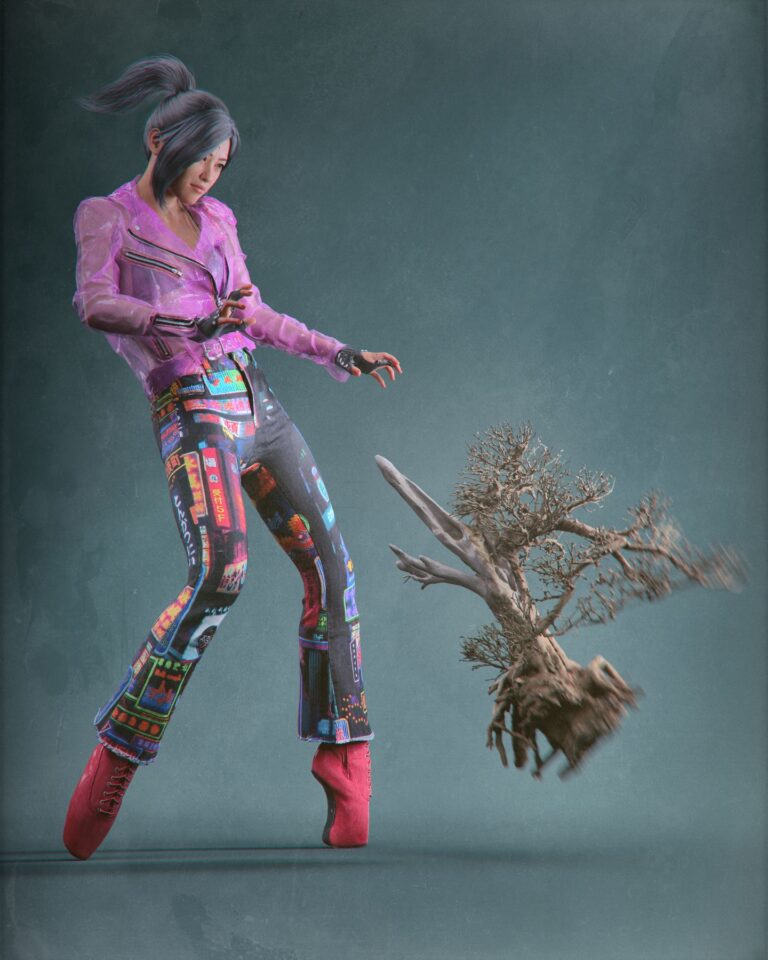
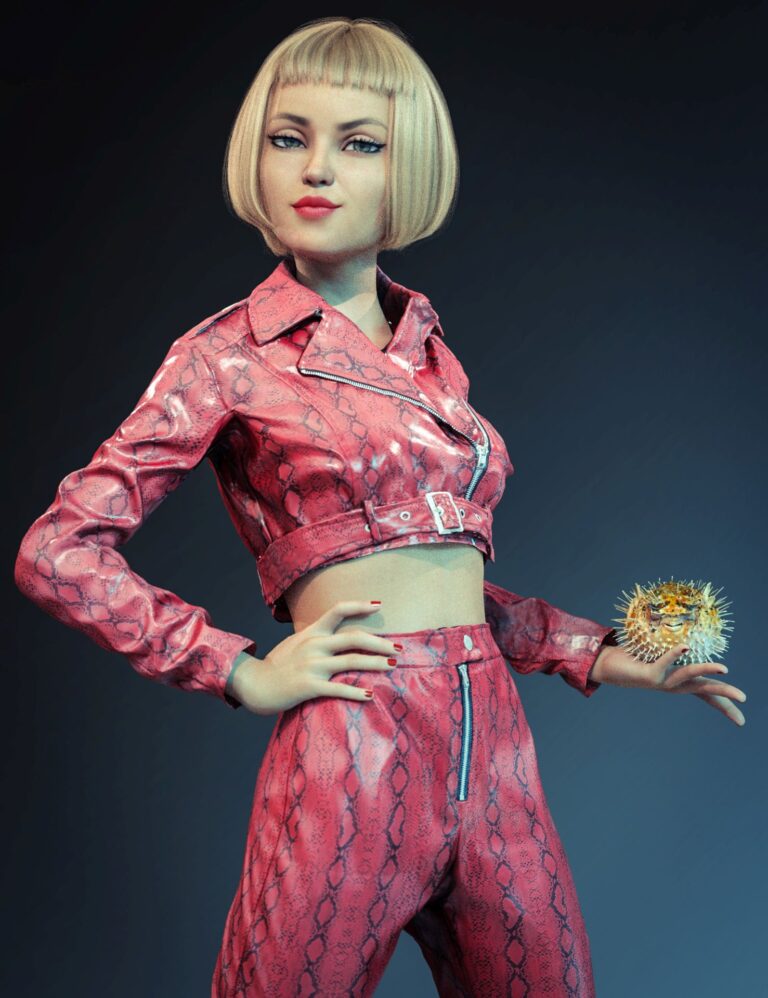
Scanning clothing is not easy. First of all, it involves putting the clothes on a digital avatar in the A-pose. And there are no mannequins in A pose, they are all in a walking or standing pose. Faced with this difficulty, I bought a museum mannequin that has movable joints. There were gaps at the joints, which I could cover with tape, but that was not ideal.
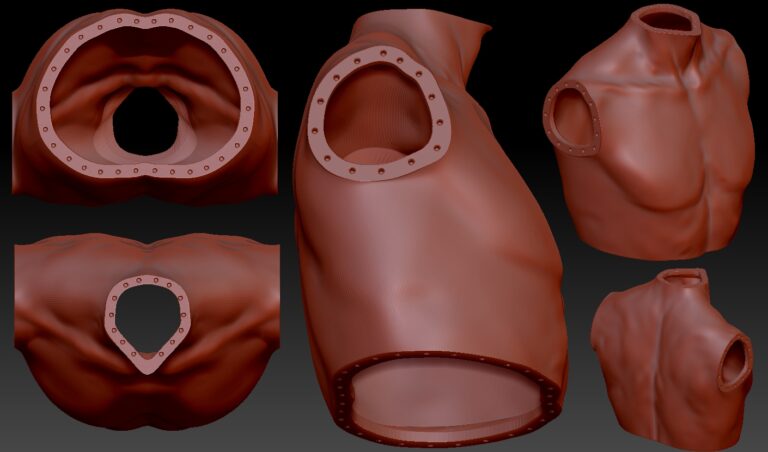
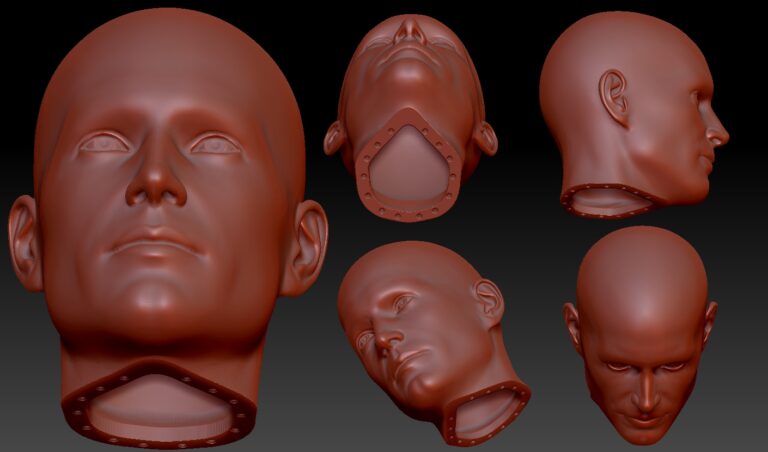
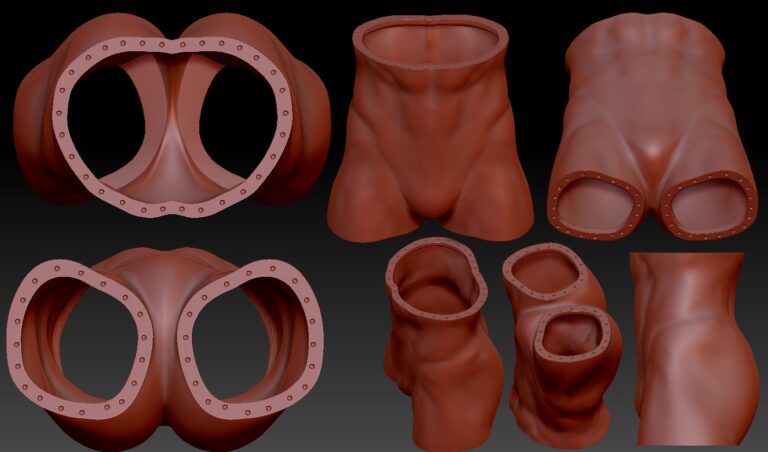
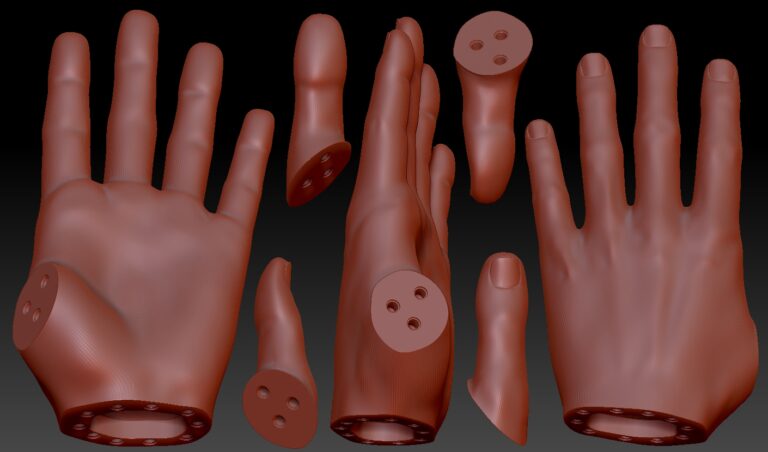
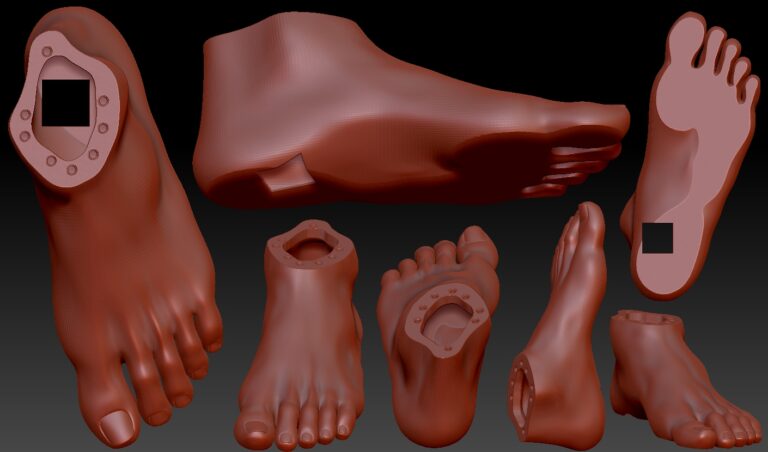
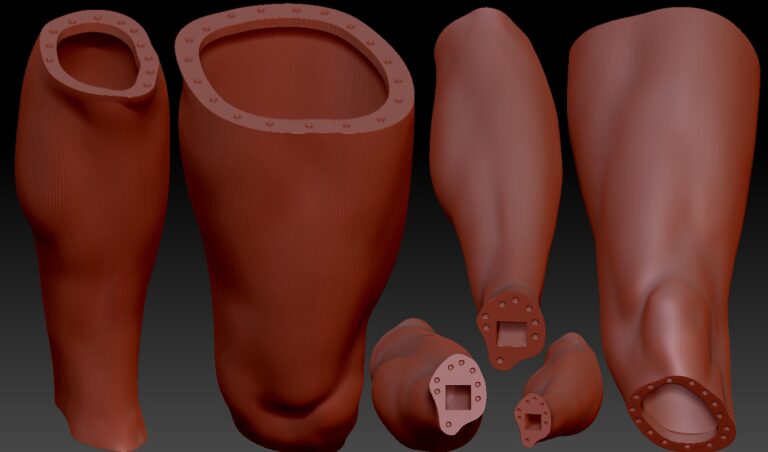
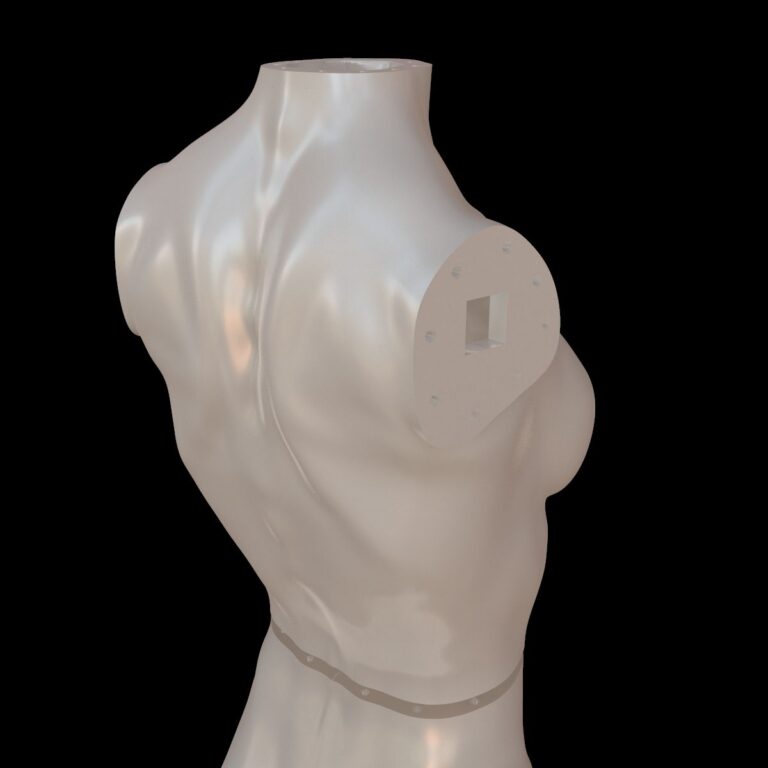
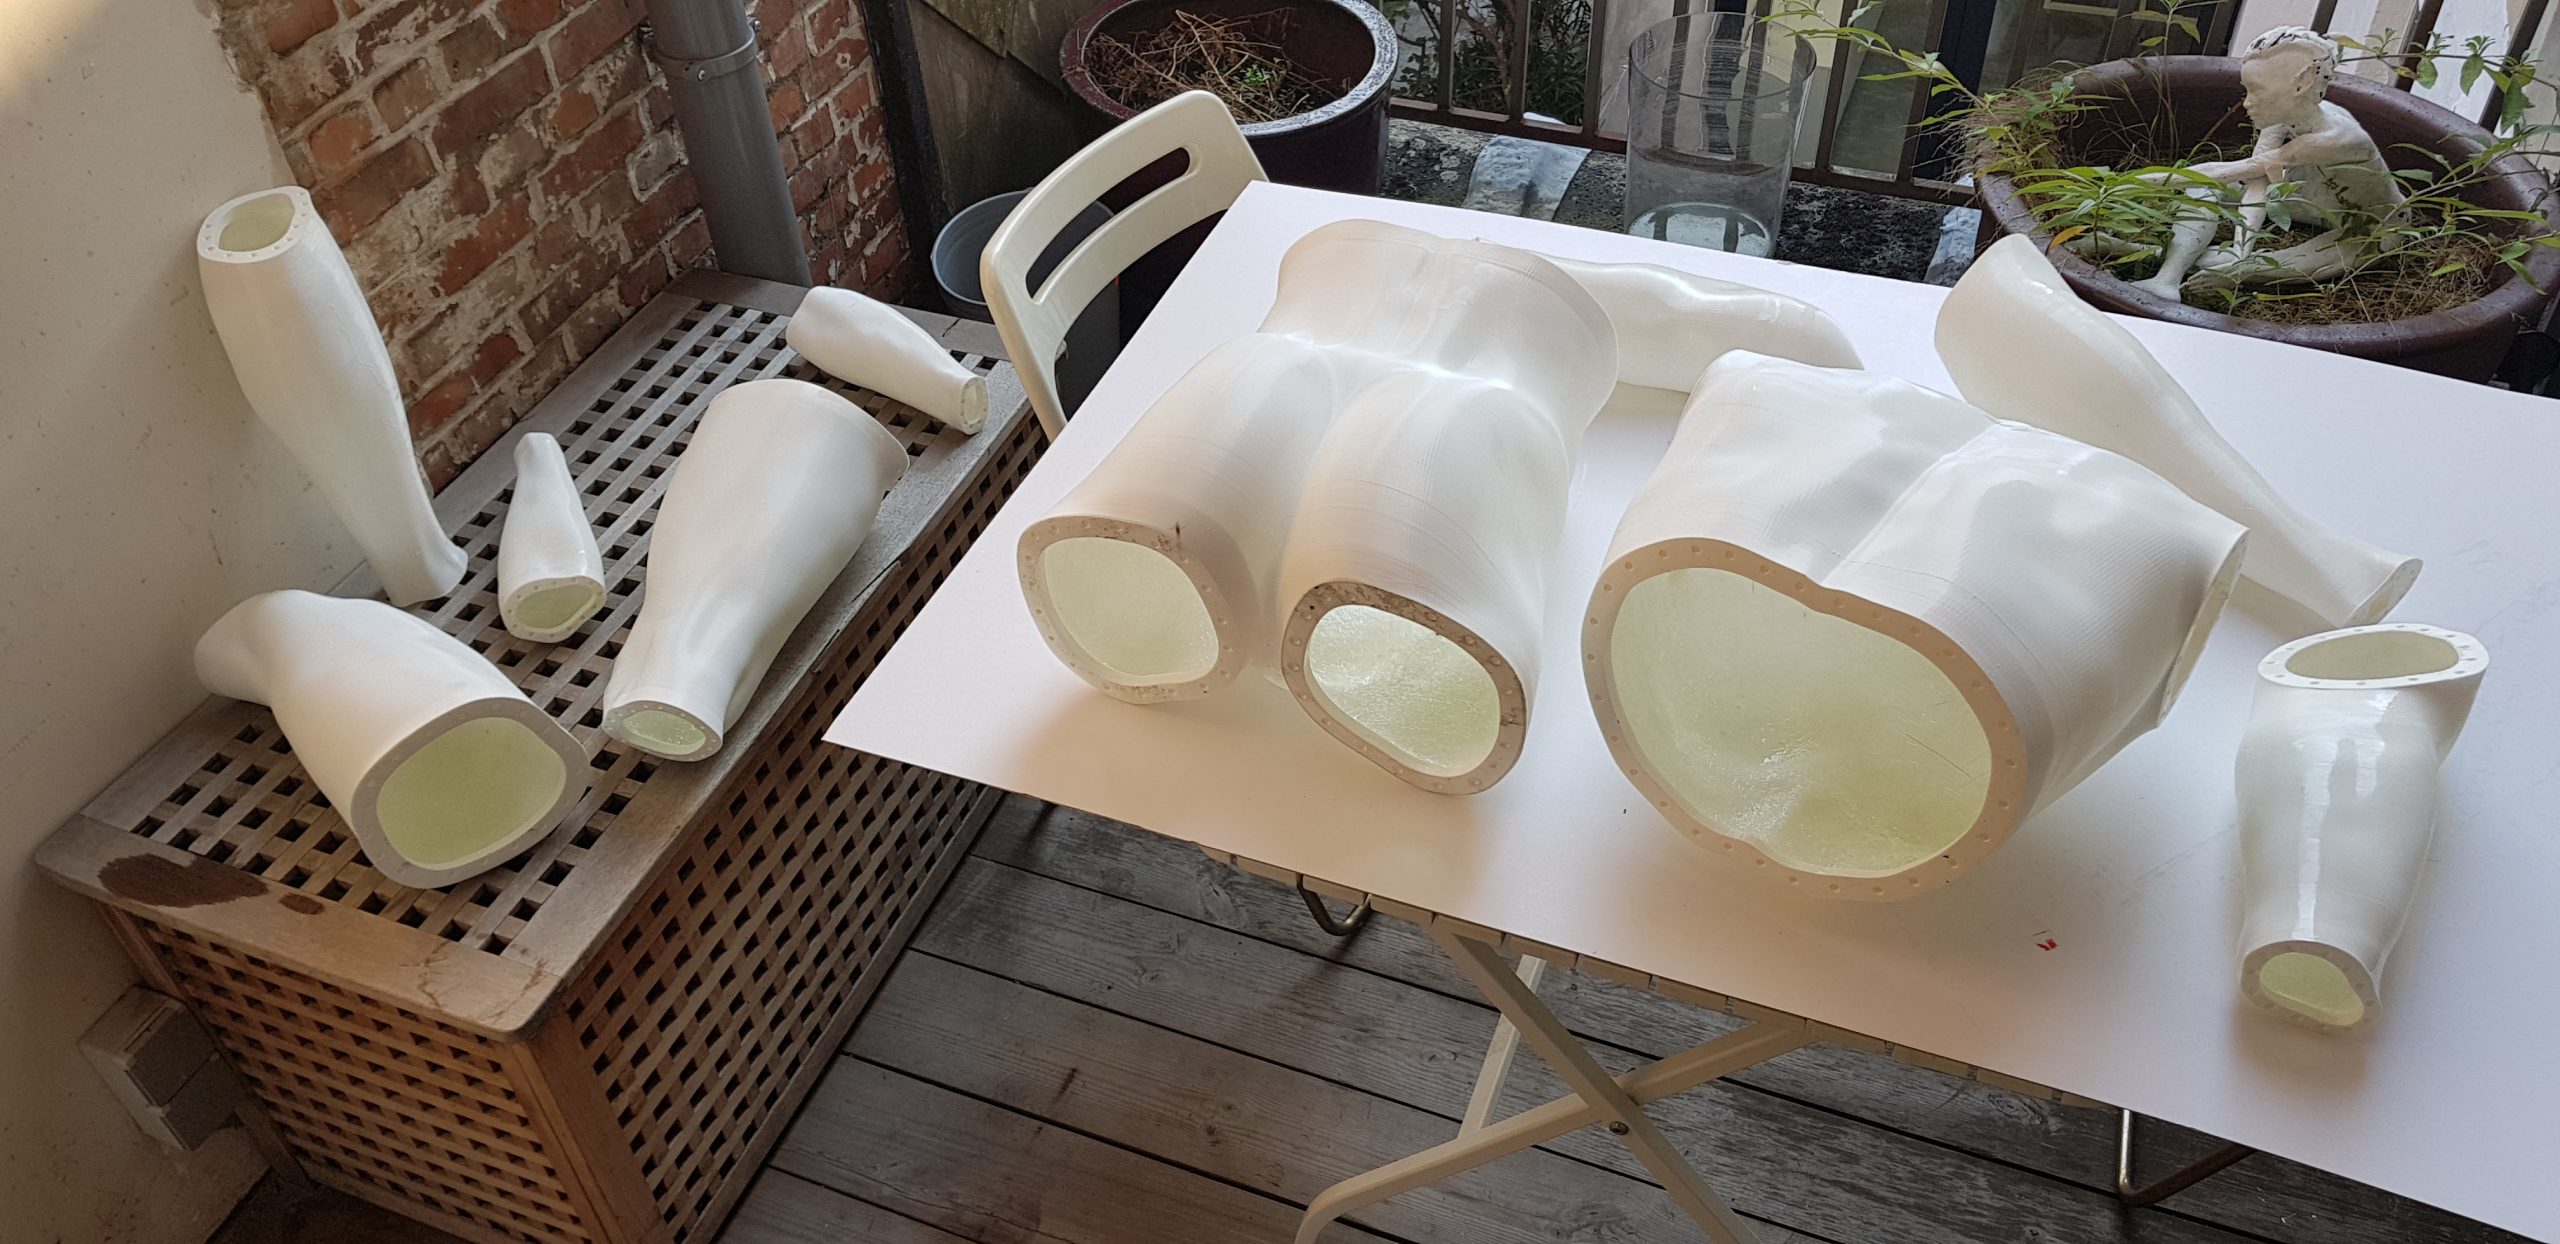
Of course, I have heard of 3D printing. But my focus was on 3D scanning and rendering, so I had no experience with it. A few friends had some, so I knew what kind of printers were out there. I decided to 3D print my own life-size mannequin. My eye fell on a Creality 10S. It can print an area of 40 cm³. I designed 12 parts (face, torso, hips, arms, legs, hands and feet). The parts were connected with LEGO TECHNIC pins. This works reasonably well, sometimes I use tape to reinforce the connection.
I started with a male Mannequin and later printed two female ones. I now have the perfect shape to put clothing on, with size Medium for Male and Small & Medium Female.
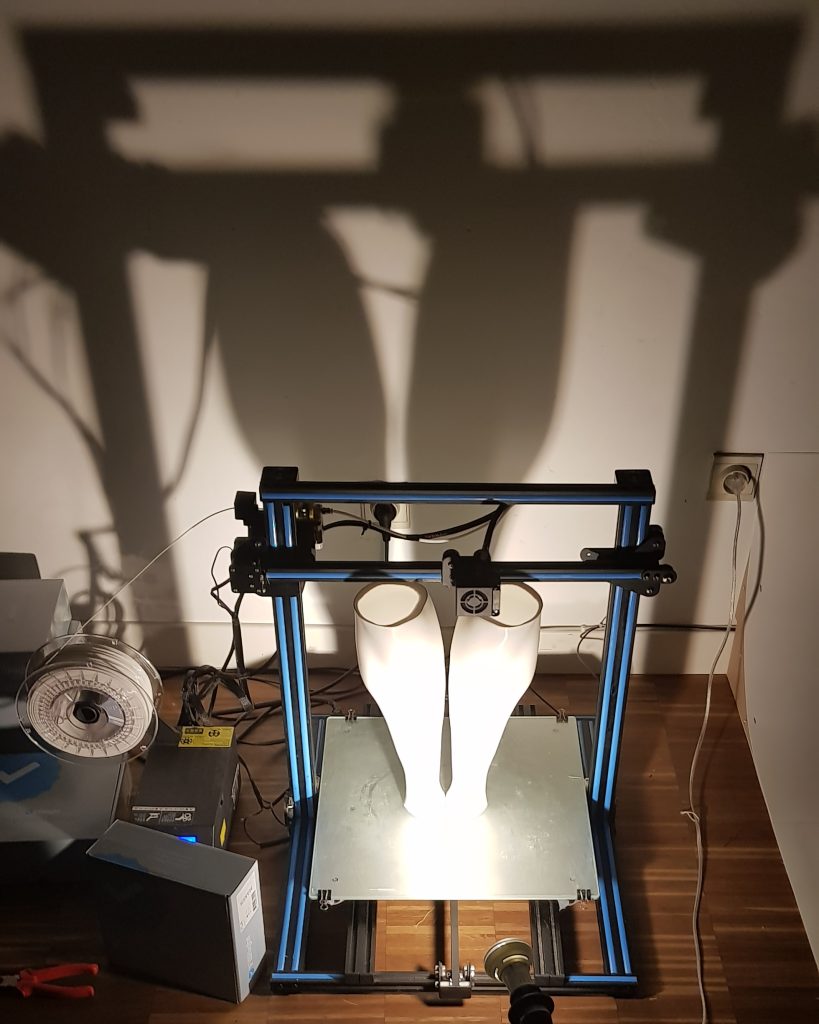
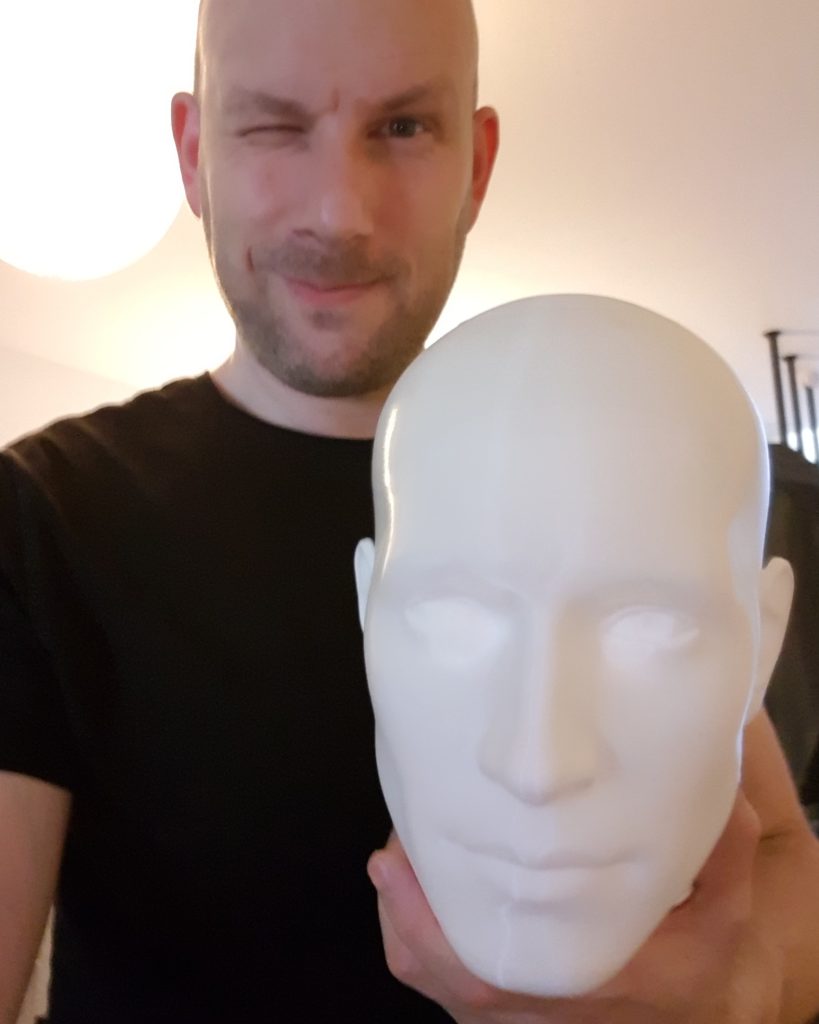
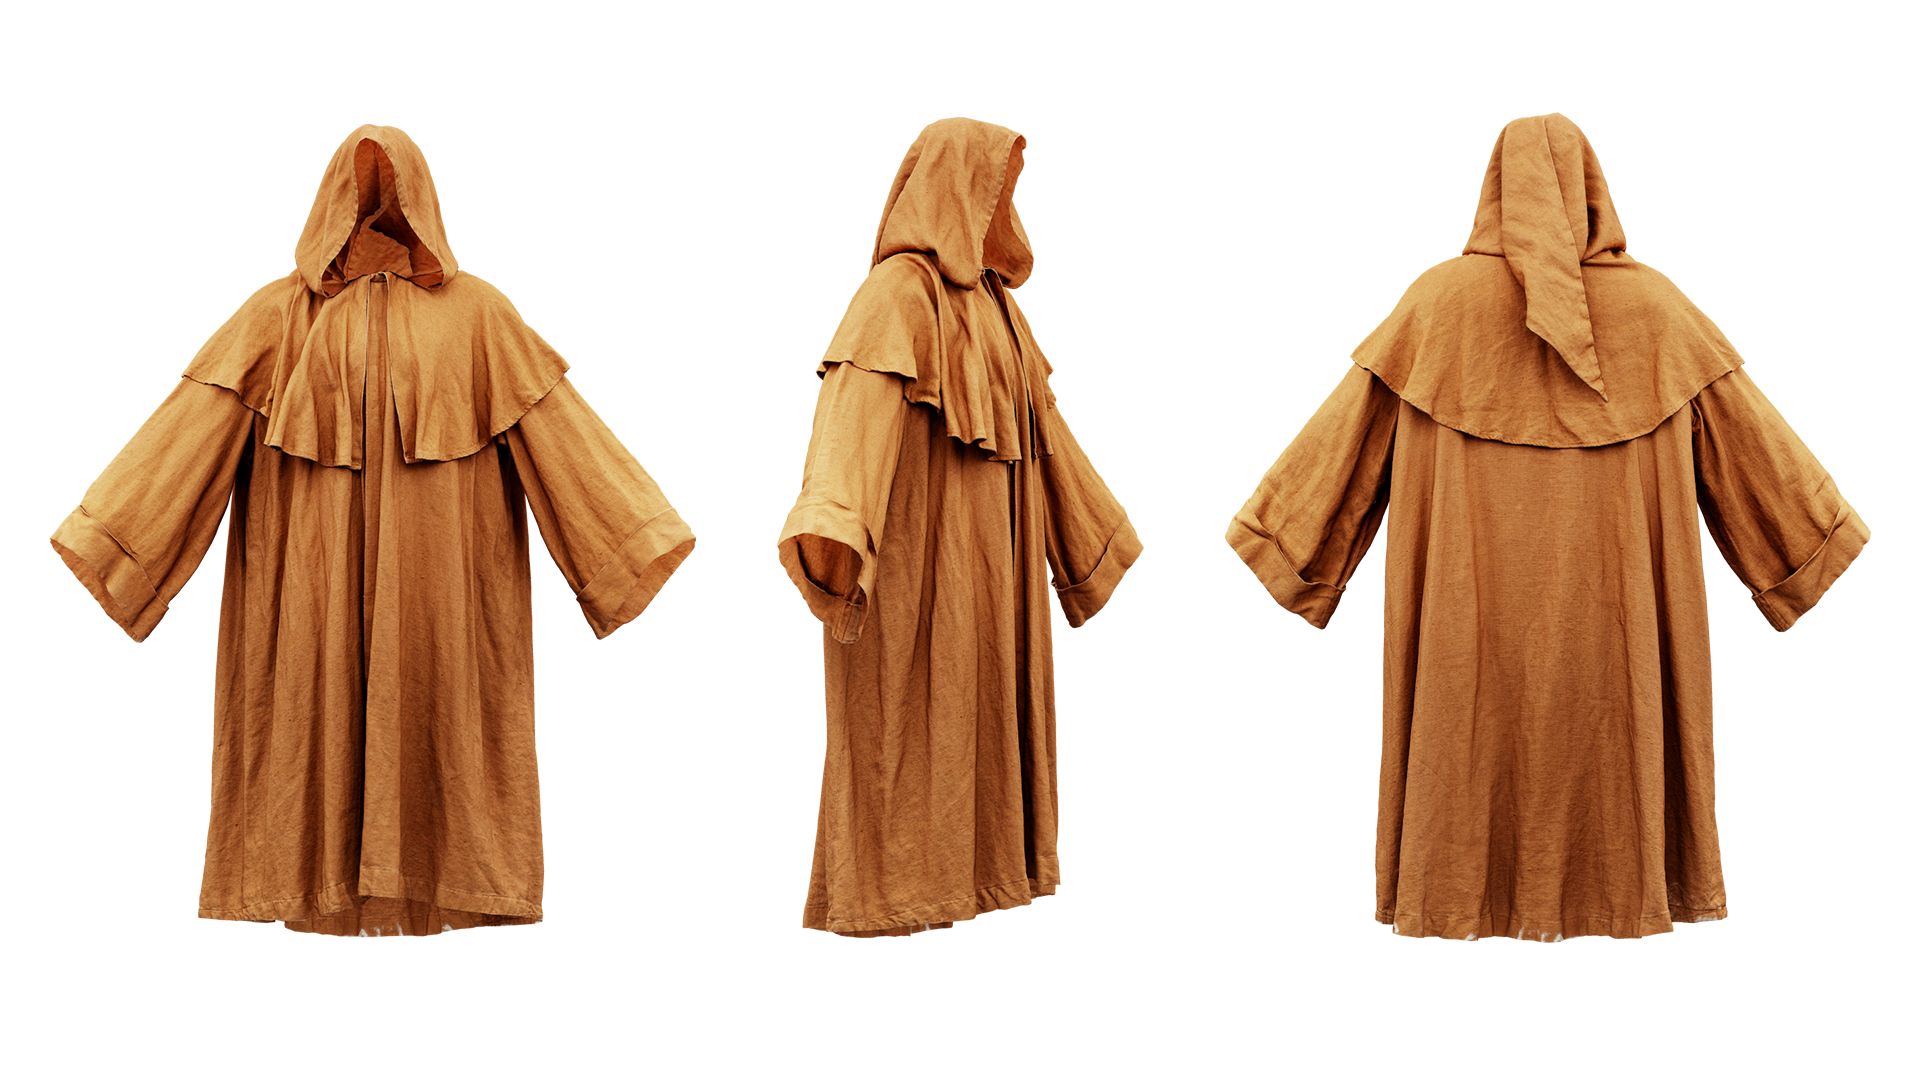
Clothing can now be scanned on the mannequin and isolated using Zbrush. The digital clothing fit nearly 100% to 3D avatar. From there, the clothing can be simulated in Marvelous Designer or Rigged and Skinned in DAZ Studio. Once the clothing moves along, I make shaders to mimic the original clothing’s appearance, then render them out using iRay.
Thanks for watching this topic. See you on the next project!
Mark Florquin

